Hot Cocoa Cake & Icing
Escape winter and cozy up with hot cocoa...cake, that is! Indulge in this Baked by Melissa rich hot cocoa cake recipe and learn to make matching hot cocoa icing.

Hot Cocoa is the Ultimate Comfort Cake
I happen to like winter, generally. It’s a huge time of year for our team—Hanukkah, Christmas, Valentine’s Day! Winter might be the most delicious season.
Plus, I love making treats when the weather turns frigid and windy; it reminds me how warm and safe I am in the Baked by Melissa kitchen or in the comfort of my home with my family.
But...this season is definitely not all fun. Winter (and staying in) can feel never-ending, so in my world, I cling to my favorite comfort recipes: everything from the freshest greens I can find to my favorite desserts. Enter this hot cocoa cake recipe.
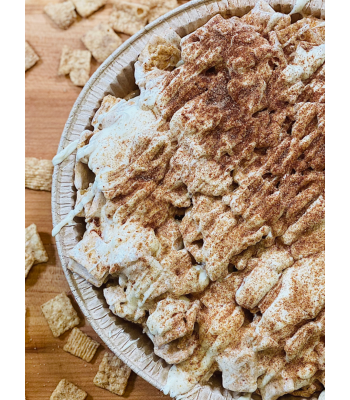
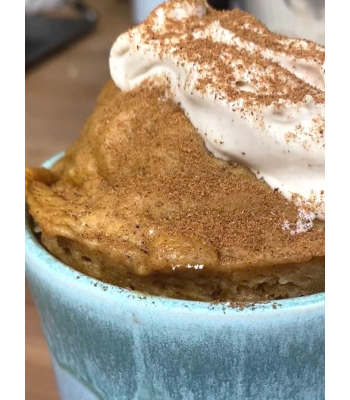
This entire cake tastes like the bottom of a mug of cocoa. That last perfect sip. A gooey, chocolatey mix that warms up your entire body on even the chilliest winter day.


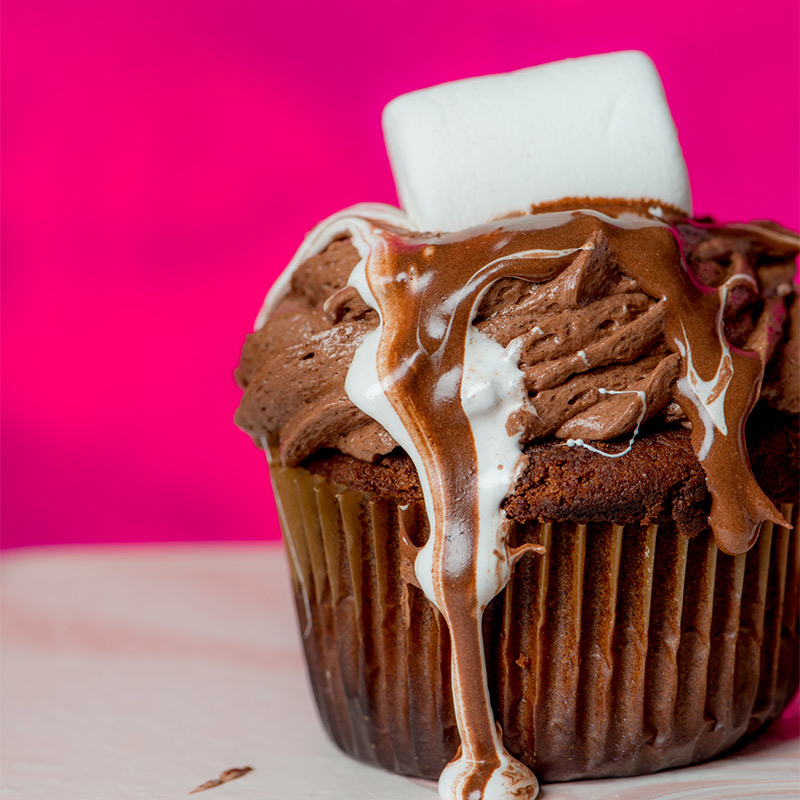
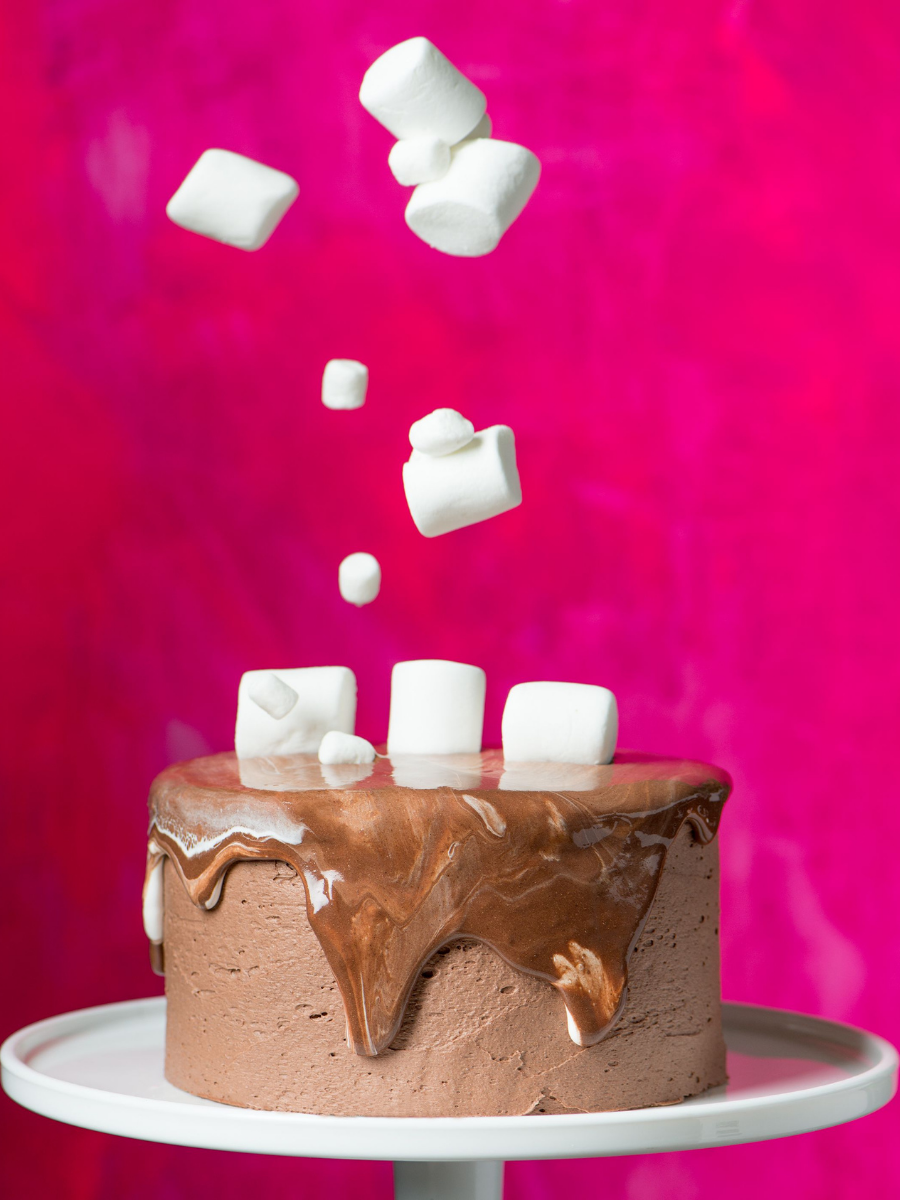
Of course, like the perfect tie-dye sweatshirt and sweatpants, every cake must have its icing soul mate, so I recommend its perfect complement: rich hot cocoa icing. And if you're really feeling it, hot cocoa and marshmallow glaze, too (trust me). Match made in heaven, I swear.
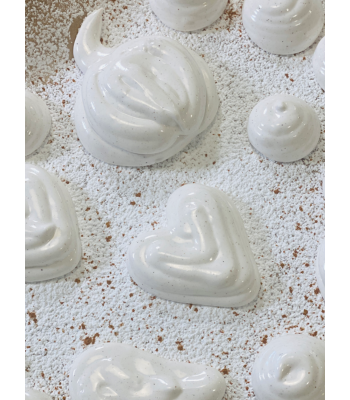
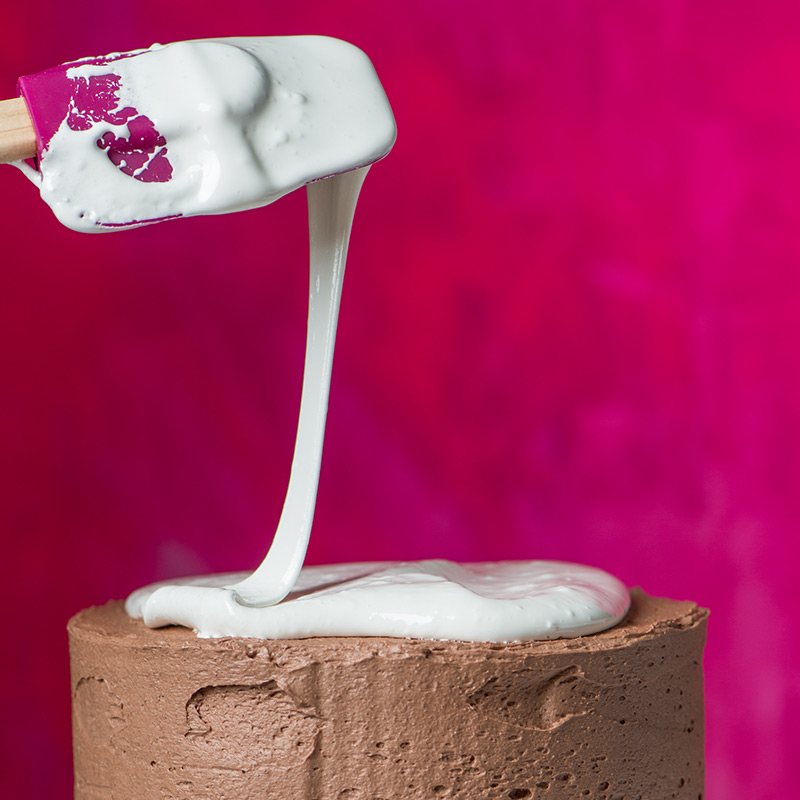
You can decorate this cake with mini marshmallows all over (like we do on Baked by Melissa’s version!) or go a little crazy with a Marshmallow Fluff glaze, which is just Fluff, whole milk, and vanilla extract whipped up on low speed. (The amount of milk controls the consistency!)
Here’s what you’ll need to make your very own hot cocoa confection:
Ingredients for Hot Cocoa Cake
- 4 large eggs
- 3 cups all-purpose flour
- 2 sticks (1 cup) butter
- 2 cups sugar
- 2 teaspoon baking powder
- 1 ¾ cup whole milk
- ½ cup store-bought hot cocoa mix (whatever your fave is!)
- 2 teaspoons pure vanilla extract
- 1 tablespoon unsweetened cocoa powder
- ¼ teaspoon fine sea salt
How to Make Your Hot Cocoa Cake
- Get prepping! Preheat your oven to 350ºF. Butter your cake pans, or, if you’re setting down parchment paper, lightly butter the paper too.
- Break out your stand or hand mixer with a paddle attachment. On high speed, whip the butter for 1 minute.
- Scrape down the mixing bowl with a silicone spatula, then add in the 2 cups of sugar. Beat the sugar and butter mixture for 2 minutes on high speed. Repeat your spatula move.
- Turn the mixer down to medium-low speed; add in vanilla. Beat in the eggs one at a time.
- Before you add in your dry ingredients, scrape down the bowl once more.
- In a separate bowl, combine your dry ingredients: flour, cocoa powder, hot cocoa mix, baking powder, and sea salt.
- With the mixer on low speed, incorporate half of the flour mixture. Once it’s mostly incorporated, slowly pour in half of the milk. Add in the remaining flour mixture and milk and stop the mixer as soon as the batter is smooth. (Overmixing is not your friend!)
- Pour batter into your cake pan(s). Bake at 350ºF until the middle of the cake passes the fingerprint test—in other words, a done cake will be springy when you press a finger to the center of the cake.
- Let cool completely.
What You'll Need:
We selected these products because we love them, and hope you do too. Baked by Melissa has an affiliate relationship, so we may get a commission if you purchase something through our links. Items are sold by the retailer, not Baked by Melissa.

Ingredients for Hot Cocoa Icing
- 2 sticks unsalted butter (at room temp)
- 2 cups confectioners’ sugar
- 1 ½ cups hot cocoa mix
- 1 teaspoon pure vanilla extract
- ¼ teaspoon fine sea salt
How to Make Your Hot Cocoa Icing
As your hot cocoa cake cools, get started on the icing. It takes a lot of willpower for me not to eat the majority of this icing before it even makes it on the cake.
-
- Break out the whisk attachment on your stand (or hand) mixer, then whip your room temp butter on high speed for 1 minute. Add in vanilla until just incorporated.
- Turn the mixer speed down to low and gradually add in 1 cup of the confectioners’ sugar and cocoa mix at a time. (If you add it all in one motion, I guarantee a cloud of sugar will fly right into your face!) Scrape the sides of the bowl as you add in these dry ingredients, then add in the salt.
- Whip the icing on high speed until it’s light and fluffy, about 3 minutes.


Here are two bonus glaze recipes for your hot cocoa cake adventures:
Hot Cocoa Glaze
- 2 cups hot cocoa mix
- ¼ cup + 2 teaspoon whole milk (add more as needed!)
- ½ teaspoon pure vanilla extract
- With a hand mixer or a stand mixer fitted with the whisk attachment, combine the hot cocoa mix, milk, and vanilla extract. Mix on low speed until smooth. (Pro-tip: Adding a little more milk to a too-thick glaze will help you reach your desired consistency.)
- Use within 10 minutes of mixing together. If you’re glazing your cake the next day, cover the bowl with plastic wrap to keep the glaze from drying out. Store your glaze at room temperature.
Marshmallow Fluff Glaze
- 2 cups marshmallow fluff
- 2 tablespoons whole milk (add more as needed)
- ½ teaspoon pure vanilla extract
- With a hand mixer or a stand mixer fitted with the whisk attachment, combine the Marshmallow Fluff, milk, and vanilla extract. Mix on low speed until smooth. Add milk as needed to thin your Marshmallow Fluff glaze to the consistency you prefer. (Working with Fluff usually means you’ll start out with a thicker glaze.)
- Glaze over your cake immediately. Or, cover the bowl with plastic wrap to keep the glaze from drying out and store at room temperature before decorating.
Shop our cozy seasonal flavors in the Latest & Greatest and find more recipes like this in my cookbook ;)
Did you make this recipe? We want to know! Tag us in your baking creations on instagram @bakedbymelissa!
-
Popular PostsSearch By
 Meet Melissa.Get to know our one-of-a-kind founder & CEO, Melissa Ben-Ishay, right from the source.