How to Frost Cupcakes Like a Pro

Here’s how to make your homemade cupcakes look professional with Melissa’s expert tips for frosting any size cupcakes with tools you have at home.


How To Frost Cupcakes Like A Pro
If you’re a home baker looking to level up your frosting skills, odds are you have strengths in the kitchen that already make your baking unmistakably yours. You don’t need fancy piping equipment or a drawer full of decorating tools to make home-baked cupcakes look professional.
I have a theory of why we turn to baking when we’re feeling stressed, happy, creative, or even sad. Bakers don’t bake for the (delicious) end result. They bake to enjoy the process, to carve out time to show self-love or love to someone else. Love always takes away the pressure of perfection.
I love window shopping at fancy bakeries where everything looks perfect just as much as I enjoy homemade baked goods. People eat dessert with their eyes first, and that’s a huge part of why I love the process of decorating cupcakes.
But, deep down, every home baker wants to make something beautiful and delish that someone thinks came from the corner bakery.
Here are a few how-to’s on ways to make professional-looking cupcakes from the comfort of your own kitchen with a butter knife, ziplock bag, and more...plus a few of my tried & true techniques for a beautiful finished product.


How to Frost Mini Cupcakes
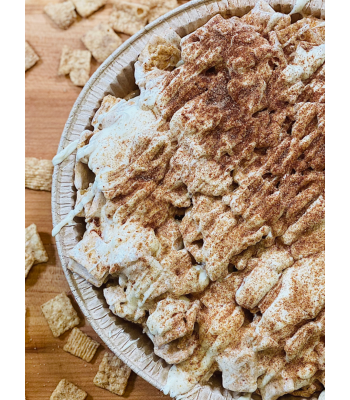
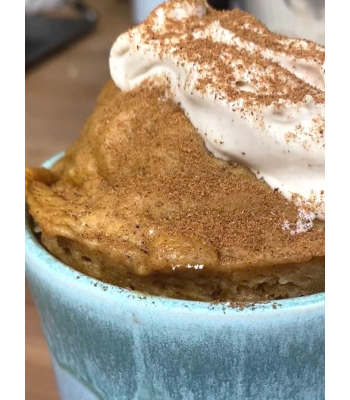
Frosting mini cupcakes is definitely an art form. Baked by Melissa cupcakes are bite-sized, so that means your bite needs to perfectly marry the cake, frosting, fillings, and toppings equally. A salted caramel chocolate cupcake, for example, needs both the salted caramel and the chocolate flavors to shine through.
Plus, you can try as many flavors as you want because each mini is a decadent, bite-sized morsel!
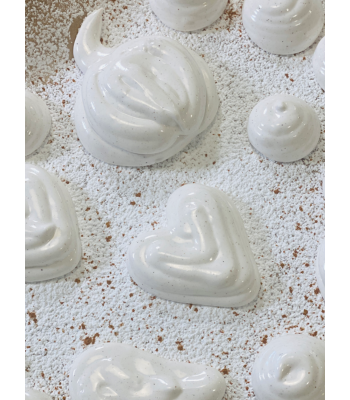
With mini cupcakes, one method is to include a round dollop of icing on top, but we leave the edge of the cake exposed so you can see what kind of cake it’s made of.
Use a piping bag to fill the middle of the cupcake, leaving a taste of the filling on the top of the cupcake. Then, pipe on frosting in a swirl motion around the filling.
How to Frost Cupcakes With a Knife
Chances are if you love to bake as much as I do, your frosted cupcakes probably look pretty good already.
But frosting cupcakes doesn’t always have to be bakery-level perfect, and that’s why I love frosting with a simple butter knife.
To start, you’ll want to pile on the frosting to your knife, then apply the knife to your (fully cooled!) cupcake in a clockwise motion. In one hand, you can spin the cupcake around slightly to ensure even coverage with the knife. Go with whatever look you like!
How to Frost Cupcakes With a Ziploc Bag
I use plastic bags to frost cupcakes at home all the time. You simply fill a sandwich-sized Ziploc bag with frosting, seal tight, and snip one of the corners with a pair of scissors. A tiny, quarter-inch snip is all it takes. Start small; you can always snip off a bit more as needed.
Hold one end of the plastic bag and guide the tip of the bag across your cupcake in a swirl motion. The Ziploc bag technique will give you more control where the icing is going, which helps things look more precise; plus, it’s great for writing letters.
Making Your Cupcakes Look Profesh at Home
I recommend these two icing methods to anyone who is looking to take their home-baked desserts up a notch.
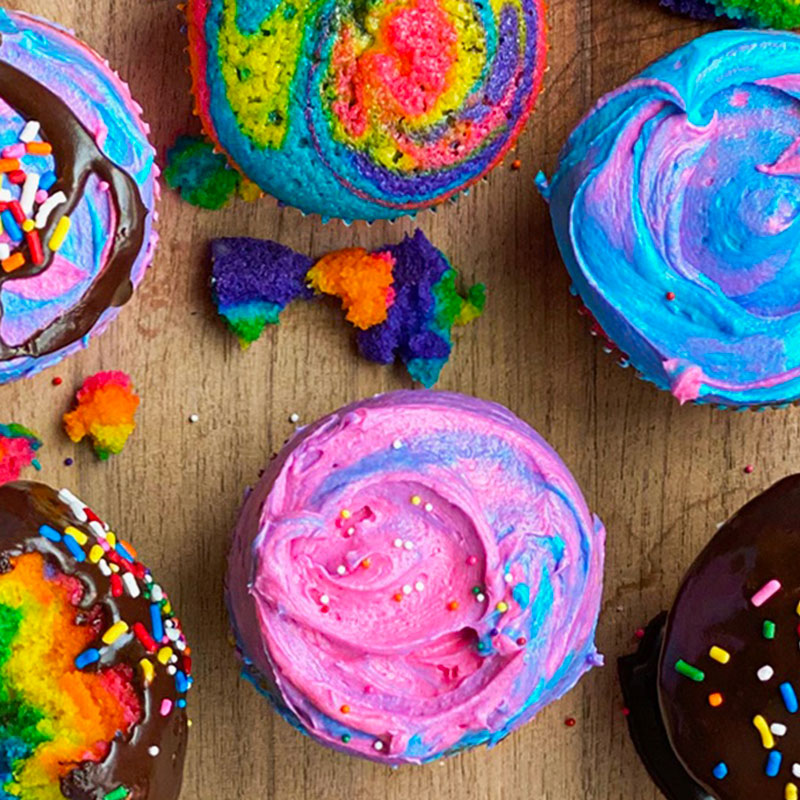
- Use a butter knife to create a tye-dye effect.
Start by splitting cupcake icing into 2 bowls. Using Americolor food coloring gel, turn one bowl electric pink and the other sky blue. (The brighter the better!)
Taking your butter knife, dollop a layer of each color onto the cupcake until you have the tie-dye look you like best.
- Glaze or drizzle it up.
At Baked by Melissa, we often use a glaze or a drizzle to dress up cakes—they’re super easy, they look professional, and they give your desserts this beautiful, glossy finish.
Chocolate Glaze Recipe
Here’s what you’ll need to make a chocolate glaze for 24 mini cupcakes:
-
-
- 2 cups confectioners’ sugar
- ½ cup unsweetened cocoa powder
- ½ cup whole milk, plus more as needed to get the perfect consistency *chef’s kiss*
- ½ teaspoon of vanilla extra
- ½ teaspoon fine sea salt
-
Sift the sugar into a large mixing bowl, then add cocoa powder, milk, vanilla, and salt. Whisk until smooth. Make your glaze thicker than you want it at first, then use the milk to thin the mixture.
You can add in food coloring or any other extract you like best based on the cake flavor you’ve baked.
Once you’re able to make a smooth ribbon drip with your chocolate, you’re ready to drizzle it over your cupcakes.
Ready to frost cupcakes like a pro at home? Remember, when it comes to at-home baking, good is always better than perfect. Trust the process. The second time you frost cupcakes will be better than the first, and the 500th time will be leagues beyond where you started. I baked hundreds of batches of cupcakes at home before Baked by Melissa ever existed.
Tag me in your creations!
@bakedbymelissa
#cakesbymelissa
Did you make this recipe? We want to know! Tag us in your baking creations on instagram @bakedbymelissa!
-
Popular PostsSearch By
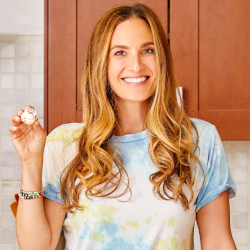 Meet Melissa.Get to know our one-of-a-kind founder & CEO, Melissa Ben-Ishay, right from the source.