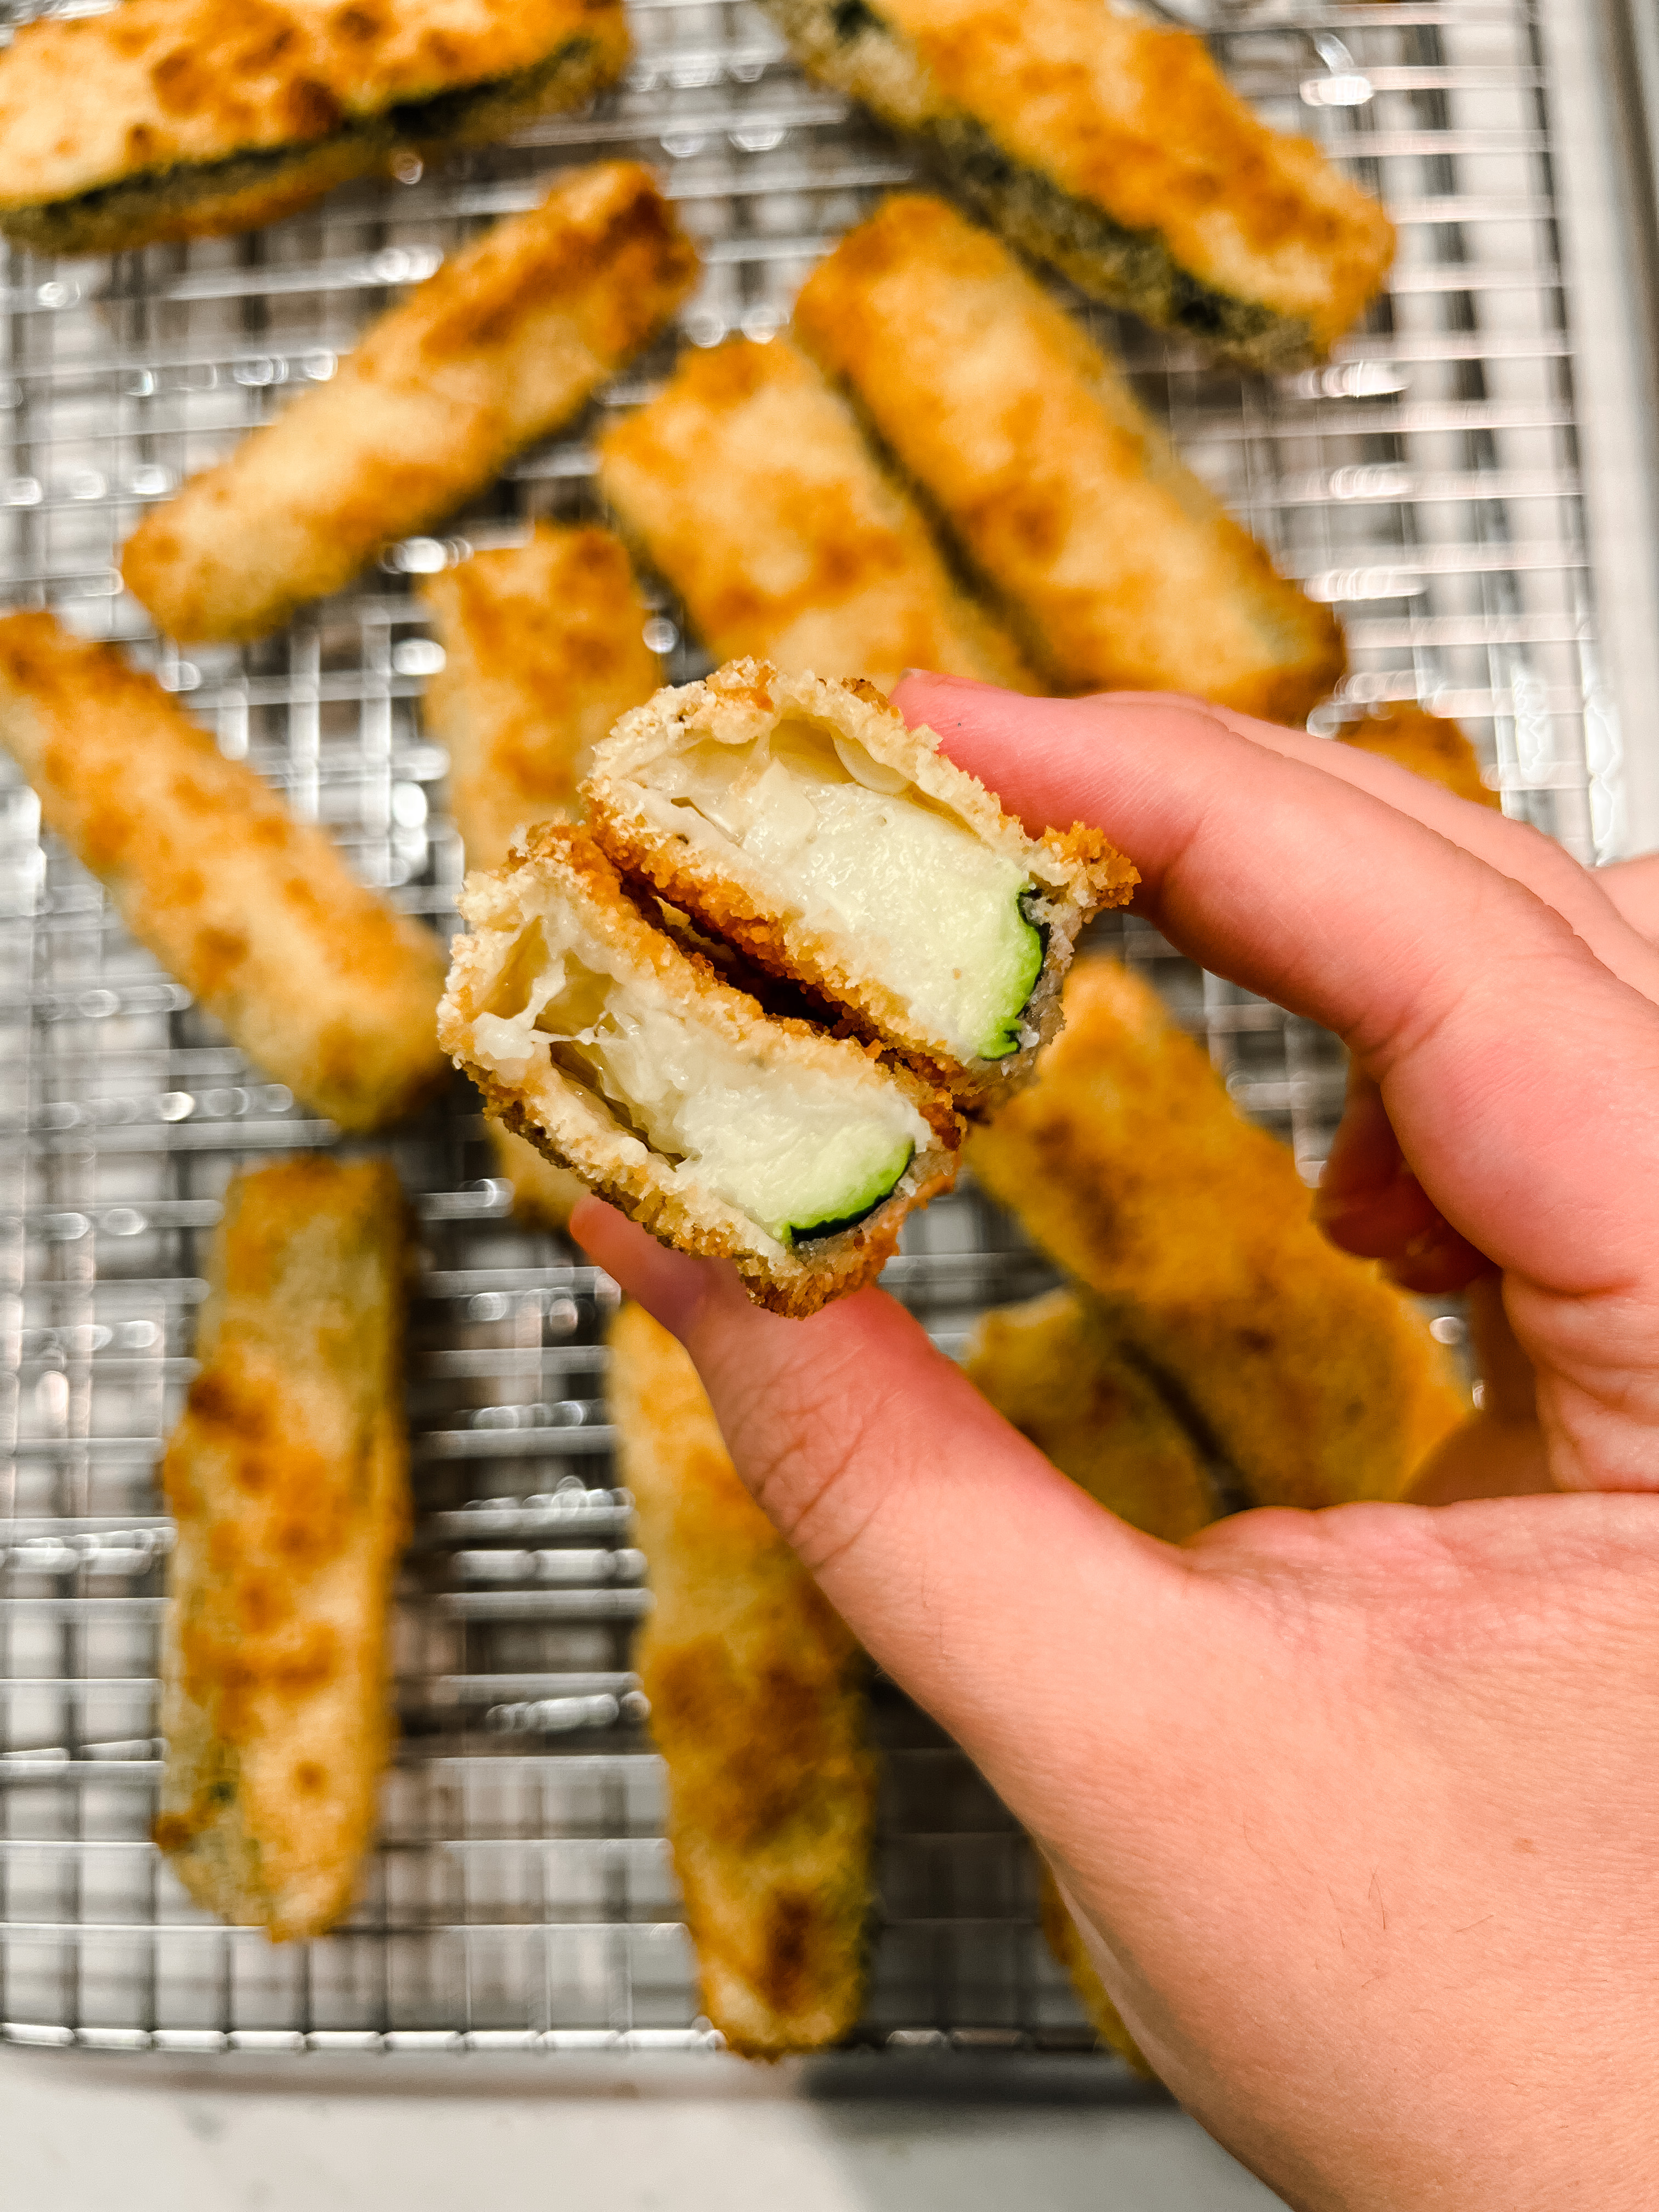
Crispy Air Fryer Zucchini
A light, crispy appetizer perfect for summer entertaining or a mid-day snack. Go ahead, take on your neighbor's zucchini crop.

Crispy Air Fryer Zucchini Recipe
We're nearing the summer months when zucchini seems to grow like weeds, and I'm here for it. If you haven't hopped on the air fryer train yet, summer is the perfect time to do it—it makes delicious snacks without deep frying or heat radiating from the oven. These crispy zucchini sticks have a satisfying crunch with a light filling. Sprinkle some extra spices in the panko for an added kick or flash of heat, or serve with spicy mayo. You really can't go wrong.

Ingredients for Crispy Air Fryer Zucchini
-
2 large zucchini
-
1 cup flour
-
1 cup panko breadcrumbs
-
4 eggs
-
1 tablespoon plus 1 teaspoon garlic powder, divided
-
1/2 teaspoon black pepper
-
2 1/2 teaspoons salt, divided
-
1 teaspoon water
-
Spray olive oil
How to Make Crispy Air Fryer Zucchini
- Line the basket of your air fryer with parchment paper.
- Set up your drenching station with three medium bowls. In one bowl, add flour. In another bowl, add the panko. In the third, add the eggs.
- Add 1 tablespoon garlic powder, 1/2 teaspoon black pepper, and 1 1/2 teaspoons of salt to the flour. Season the panko with 1 teaspoon salt and 1 teaspoon garlic powder.
- Add 1 teaspoon of cold water to the eggs and whisk.
- Cut the zucchini into long sticks (or your favorite shape—these crinkle cutters are particularly fun).
- Dredge each stick in the flour, then eggs, then breadcrumbs. Make sure the zucchini is evenly coated on all sides. Tip: Pressing the breadcrumbs into the zucchini will help it stick!
- Place the coated zucchini on the parchment paper and spray with olive oil.
- Air fry at 375°F for 5 minutes and then flip. Cook for another 5 minutes and flip again. Cook for 5 more minutes. The final product should be golden brown and crispy.
- As tempting as it is, DO NOT bite into the zucchini immediately—all of the water inside is HOT. Let cool for several minutes, and serve with your favorite dipping sauce. Enjoy!
What You'll Need:
We selected these products because we love them, and hope you do too. Baked by Melissa has an affiliate relationship, so we may get a commission if you purchase something through our links. Items are sold by the retailer, not Baked by Melissa.
Did you make this recipe? We want to know! Tag us in your kitchen creations on instagram @bakedbymelissa!
-
Popular PostsSearch By
 Meet Melissa.Get to know our one-of-a-kind founder & CEO, Melissa Ben-Ishay, right from the source.