
No Bake Peanut Butter Pie
Posted: | Categories: Recipes | Tags:dessert pies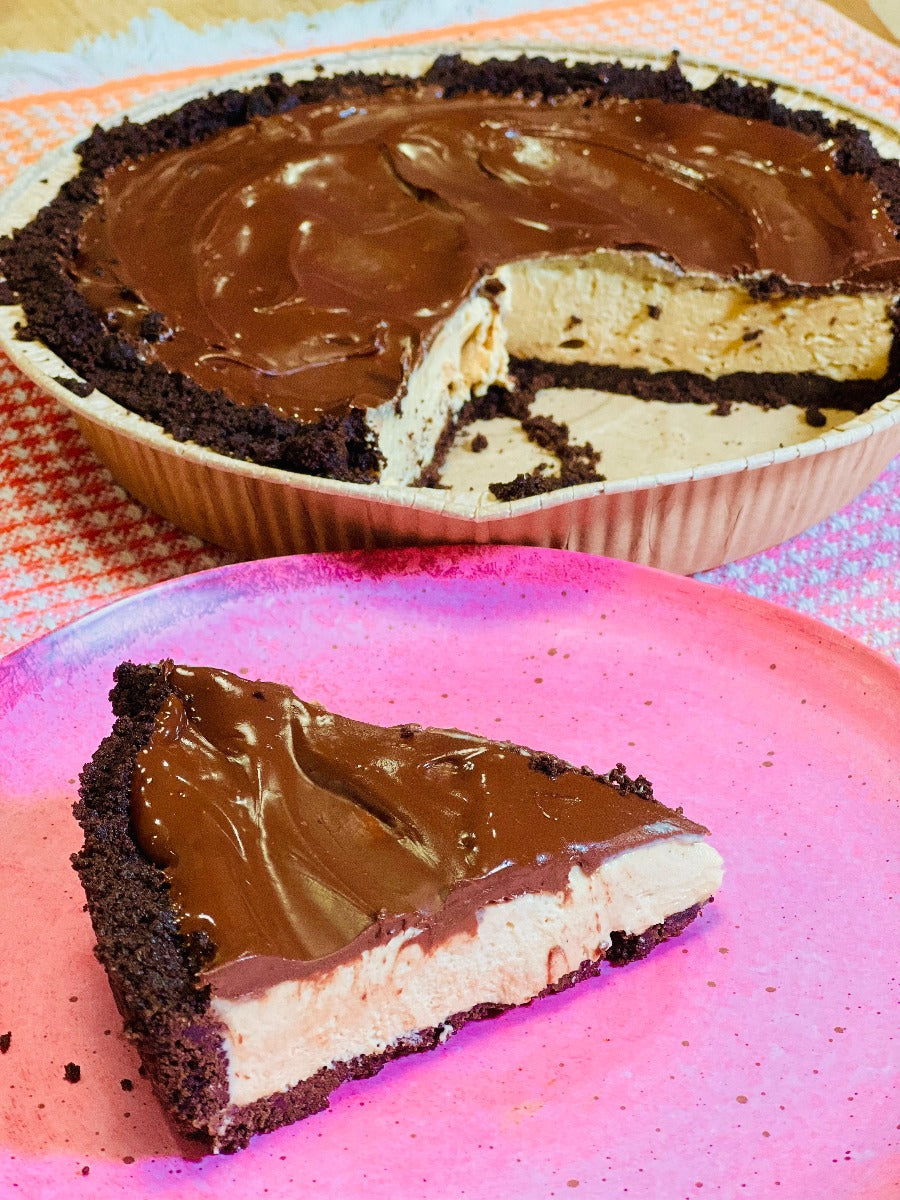
No Bake Peanut Butter Pie
Melissa Ben-Ishay
Sweet Recipes
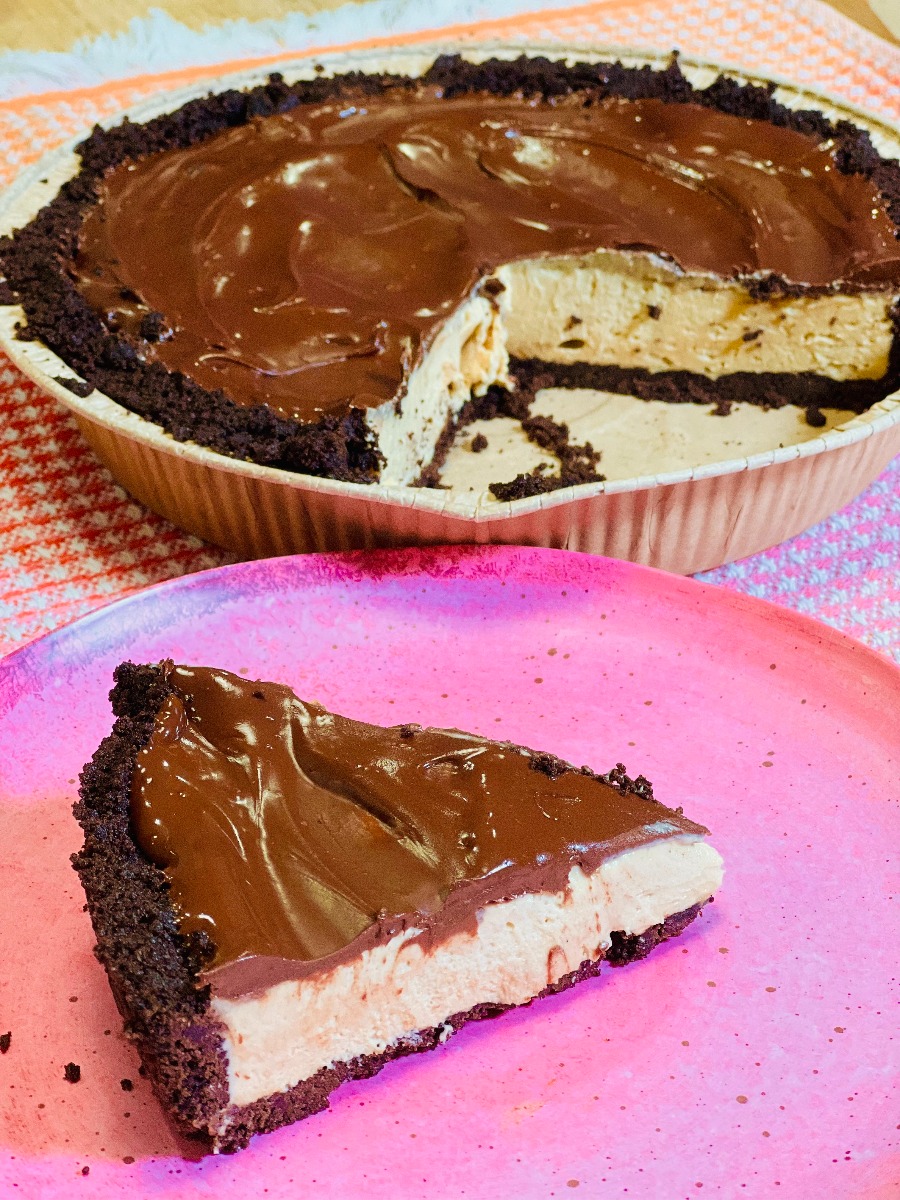
Peanut Butter lovers, this recipe is for you! If you’ve ever dreamed about a large Reese’s peanut butter cup, this pie makes that dream a reality. Creamy peanut butter and smooth chocolate come together to form a pie that’s so good, you’ll want to eat it all yourself- and I wouldn’t judge you if you did. Wonderfully rich in flavor, this pie is a no bake dessert, so no oven is needed!Grab your favorite peanut butter, create your own chocolate crust and prepare to be stunned by the outcome.
Ingredients
Pie Crust:
- 4 tablespoons of Unsalted Butter
- 3 sleeves of WholeFoods Brownie Cookie Thins (or Oreos without the cream!)
Filling:
- 1 ¼ cup of Heavy Cream
- 1/3 cup of Sugar + 2 tablespoons
- 1/4 teaspoon of Salt
- 4 ounces of Cream Cheese
- 1/2 cup of Peanut Butter (heaping)
- 1 teaspoon of Vanilla
Topping:
- 1 cup of Dark Chocolate Chips
Directions
Making the Pie Crust:
Melt the butter in a microwave-safe bowl or in a pot over medium heat.
- While the butter is melting, crush up 3 sleeves of Whole Foods Brownie Cookie Thins (or Oreos with no cream) in a dry blender until it becomes a sand-like consistency.
- In a bowl, combine crushed cookie crumbs and the melted butter. Mix until it becomes a sandy texture.
- Pack the crust into a pie pan, and let it set.
Making the Peanut Butter Filling:
- In a bowl, add in the heavy cream and all the sugar and mix until it begins to thicken.
Once thickened, add in salt, cream cheese and peanut butter. Mix on high until stiff peaks begin to form.
Once the peaks have formed, add in the vanilla extract and mix until combined.
- Place into a refrigerator and let the mixture solidify for 2-4 hours.
Melt chocolate chips in the microwave at 45 second intervals, stirring in between. (Make sure your chocolate does not burn!)
Pour the chocolate over the top of the pie and let it cool. Once it is cooled, you’re ready to serve! Enjoy!


