How to Make a Delicious Birthday Cake Using Box Mix

Easily elevate box cake mix with these simple tricks for a memorable birthday cake.

My Tips to Make Incredible Cakes with Box Mix
One of my favorite traditions I have with my kids is letting them design their birthday cakes. Last summer, I made a rainbow cake for my youngest, which was a huge hit at her party. For my birthday, I asked both of my kids to come up with the design.
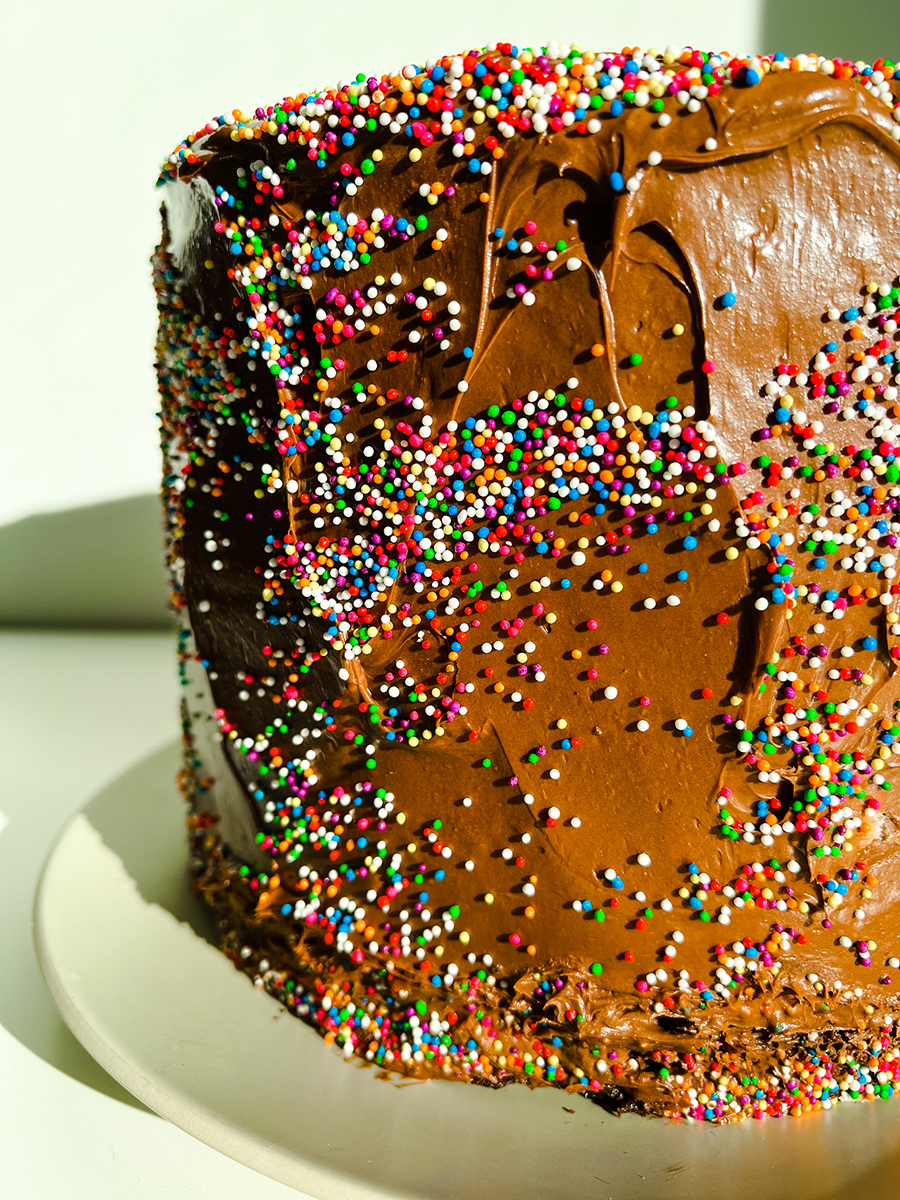
The end result was a compromise: my youngest likes tie-dye, so we had layers of rainbow tie-dye vanilla cake, and my oldest is a chocoholic, so she contributed chocolate layers with chocolate icing. I decorated with chocolate icing and rainbow nonpareils, but the wow factor was really the inside. Cutting into it opened up a surprise of colors and flavor that everyone loved.
I’ve loved to bake since I was a kid, and in that time I’ve learned a few tricks to make creating delicious, memorable cakes easier—which is especially important now that I have two kids trying to help me in the kitchen. I’ve already posted how I made my daughter’s cake from scratch (I even wrote a book with my favorite recipes!), but sometimes, I use cake mix to make it easier. Here’s how.
What You’ll Need
- Cake mix
-
For chocolate cake, Betty Crocker Hershey’s Chocolate Cake
- For vanilla/tie-dye cake, a double batch of Betty Crocker White Cake
-
-
Instant pudding
-
For chocolate cake, add ½ packet instant chocolate pudding mix
-
For vanilla cake, add ½ packet instant vanilla pudding mix
-
- Whole milk
- Food coloring
- Simple syrup (equal parts water and sugar, cooked over medium heat until dissolved)
- Your favorite icing(s)
- Rainbow sprinkles or nonpareils
Making the Cake
-
Add the cake mix to a large bowl and add ½ an instant pudding packet (chocolate pudding for chocolate cake, vanilla for vanilla cake) to the mix.
-
Follow the directions on the package, replacing water with whole milk. Stir together to form a batter.
-
Divide the chocolate cake batter into pans and bake according to package instructions.
-
Pour the vanilla batter into five separate bowls, and put a drop of food coloring into each one. Stir to combine, adding more food coloring as needed.
-
To make a tie-dye effect, pour a little bit of each color into 3 separate pans. Alternate colors in rainbow order, repeating the process until the pan is ¾ full. Use a toothpick to draw lines through the batter. I make a double batch of tie-dye because you can lose a lot moving the batter from different bowls!
-
Once your tie-dye pans are ready, bake according to package instructions.
Decorating the Cake
- Let cakes cool completely before icing. Remove them from the cake pans and cut the domed top off (you can also do this as you stack the layers).
- Place a dab of icing on your plate or cake board to keep everything secure, then add your first cake layer. Top with a splash of simple syrup, then add your icing.
- Stack the next cake layer, making sure each layer is flat as you go. Repeat with all cake layers in whatever pattern you like.
- Once the layers are assembled, cut off any sides that seem to be off-center. Spread a thin coat of icing around the cake (this is called a crumb coat) and refrigerate for 10-15 minutes.
- Spread another layer of icing over the crumb cake and smooth with an offset spatula. Add your favorite sprinkles or nonpareils to decorate, and get ready to show off your baking skills at the party.
My Must-Have Baking Tools
-
If You Care Pans (for easy clean-up)
We selected these products because we love them, and hope you do too. Baked by Melissa has an affiliate relationship, so we may get a commission if you purchase something through our links. Items are sold by the retailer, not Baked by Melissa.


-
Popular PostsSearch By
 Meet Melissa.Get to know our one-of-a-kind founder & CEO, Melissa Ben-Ishay, right from the source.